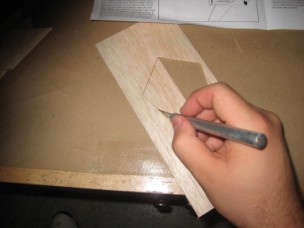

After you have the fins cut
out you then have to sand them to get them all completely uniform in
size, and to smoothen the surface a bit. I shape them using 120 grit
sandpaper, and smooth the faces of the fins with some 400 grit

The next step in the
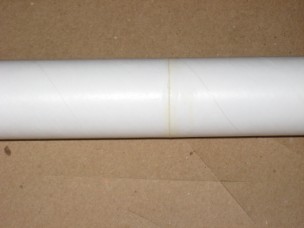
project was to connect the two tubes together. The
tubes are a good sturdy cardboard, and they supply a coupler to join
the two sections. First, one side of the coupler is lightly smeared
with some wood glue, then it is inserted into once section of tubing,
until inserted half way. I know what your thinking, "oh crap! he uses
that expensive stuff.... 'Premium Wood Glue'." Haha. Bad
joke
over. So now the glue is allowed to set for a few minutes.


So now that the glue has had a few minutes to set and adhere to the
coupler & body section, the remaining exposed half of the
coupler
is lightly smeared in wood glue, and the second section of body tubing
is set over that until flush with the other tube.
Now
that the tubes are
together and the fins are sanded down, the fins are ready for mounting
on the rocket body. To attain maximum accuracy the supplied fin
mounting jig is taped together, and slid over the body. I then
proceeded to mark the spots at which the fins would be mounted, as well
as where the launch lug will be attached. The fins will also be mounted
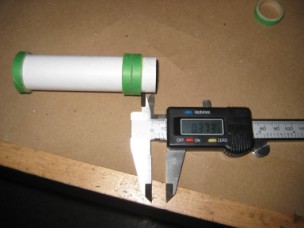
3/4" from the bottom (aft) of the rocket, so that is marked wit the use
of my digital caliper (I know, a bit overkill).


Then a small amount
of wood glue is applied to the part of the fin that will attach to the
body, and it is pressed onto the body lightly for a few minutes until
the glue has set somewhat. I made a quick jig out of some scrap wood to
hold the rocket vertical while attaching the fins, it made the process
much easier.


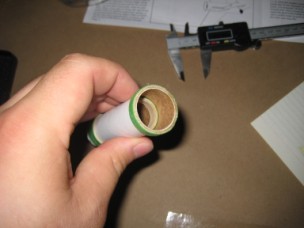
The next step I took
was to put in the motor retaining ring, which was simply smeared with
wood glue, and inserted several inches (exact measurement forgotten)
into the aft of the rocket body. Then from there I assembled the 24mm
motor adapter, which went together quite easily. Again, I went overkill
with accuracy, using my digital caliper to measure out things.

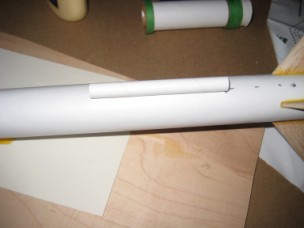
The next step is to secure the launch lug to the body, which was quite
an easy task.
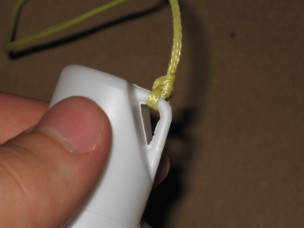
Finally the streamer
is attached to the shock cord, and the shock cord is the attached to
the nose cone, as well as the body. To make sure the knot holding the
nose cone to the shock cord holds, I added a few dabs of superglue to
the knot. That way, I never have to worry about the knot coming loose,
and destroying a perfectly good rocket.
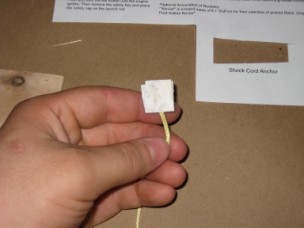
Then the other end of the Kevlar shock cord must be attached to the
body itself.
Apogee
supplies you with a nice cutout which is folded
upon the shock cord with liberal dousings of glue. It is then attached
several inches deep inside of the forward body tube.

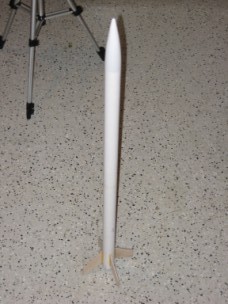
Finally; we have a working model Rocket! Here are a few pictures of the
rocket finished before painting.

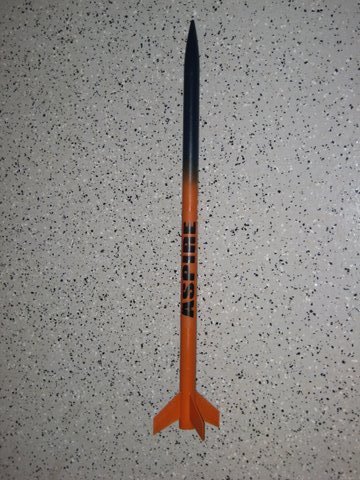
Update 11/15/09: I painted the rocket about a week back, and
decided to do a two-tone dark blue, on the aft, fading to a pumpkin
orange up top. Started with a nice layer pf primer, than just finished
off with the blue and orange. It was a nice and simple gloss spray
paint job, and I really cant complain. Looks good. (at least I think so)
Hope
you enjoyed. This was a nice fun weekend project that would be perfect
for any beginning rocketeers. Since the rocket can accept Estes type
motors it is very inexpensive to fly, and since it uses a streamer
recovery system, it comes down pretty close to the launchpad, so no
mile hikes are needed to recover the rocket. Also, the
Apogee
Aspire
can
handle large composite 29mm motors, so this is truly a two for one
deal when you buy this excellent kit. On one hand you get a great,
inexpensive model rocket, which is cheap to fly and quite fun, and on
the other hand you get a high performance 29mm motor consuming, mile
high capable supersonic beast. Absolutely the best of both worlds, for
only about $20. How can you beat that!?!?!


